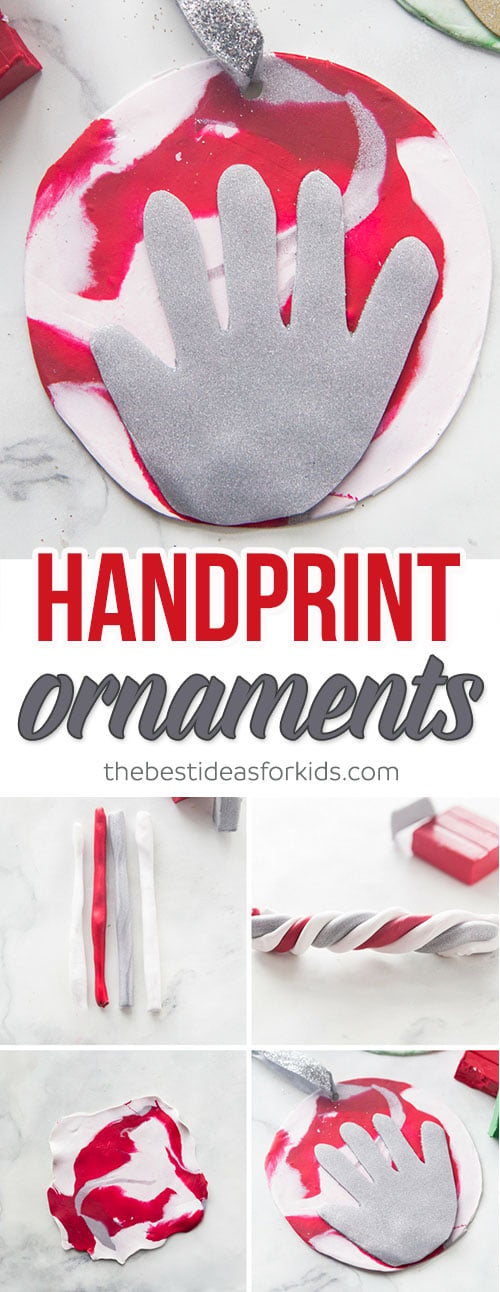
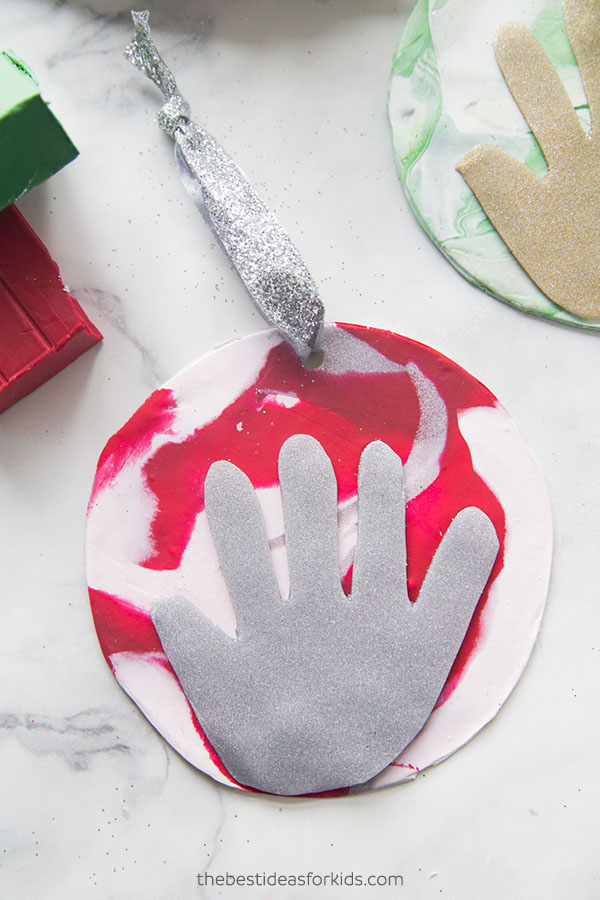
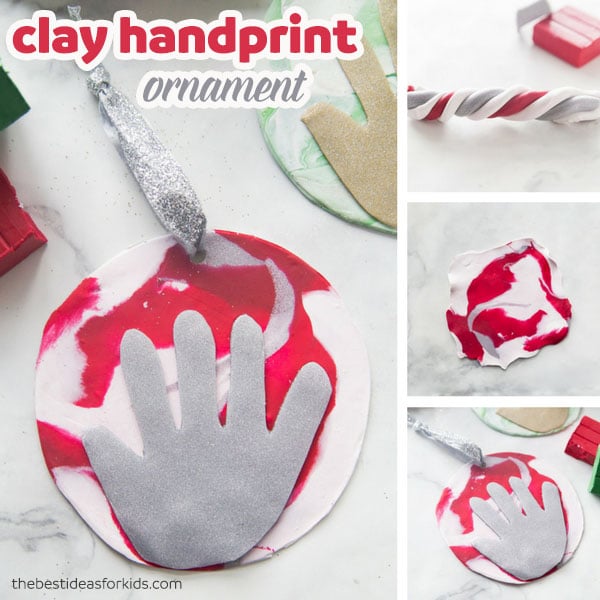
If you’re looking for an easy keepsake ornament or a way to preserve those little baby handprints – this Clay Handprint Ornament is the perfect craft for Christmas! Our salt dough handprint ornaments have been so popular but working with salt dough can be tricky – so we wanted to provide an alternative handprint ornament idea using clay.
Clay Handprint Ornament
This is our second time working with polymer clay and we have to say we absolutely love it! It’s not too expensive and you can make just about anything with it! We are excited to work with it a bit more on future crafts. If you’re interested in another clay project, see these clay leaf bowls – these would make great gifts!
Watch the full tutorial video here before you get started!
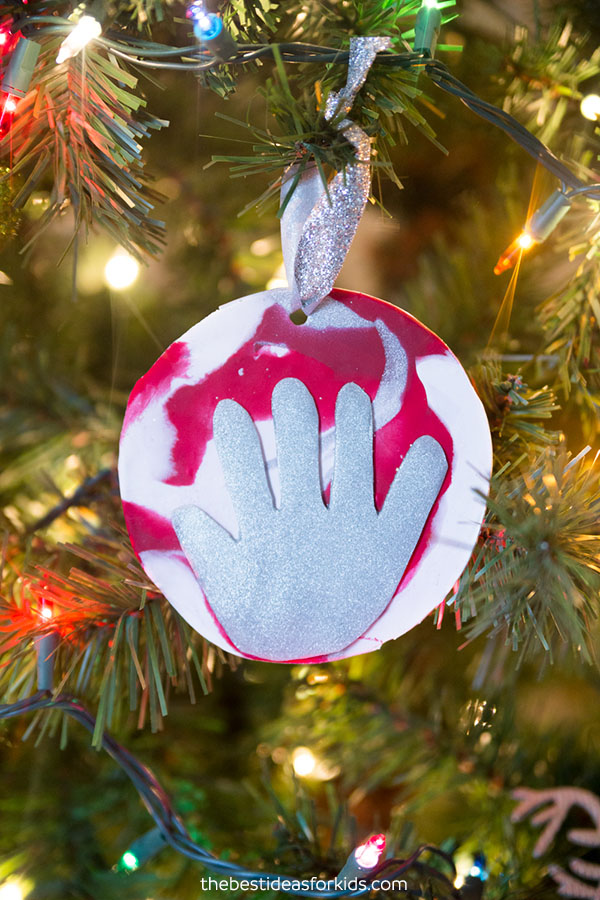
Handprint ornaments are such a nice keepsake for your Christmas tree! I am already cherishing these ornaments on our tree and know that they will be loved for so many years to come! Salt dough can be tricky to work with and can also break down over time, so working with polymer clay is a great alternative that will stand the test of time.
We have lots of handprint projects – you may also be interested in seeing these other handprint Christmas projects:
–Salt Dough Handprint Ornament
–Handprint Christmas Tree Card
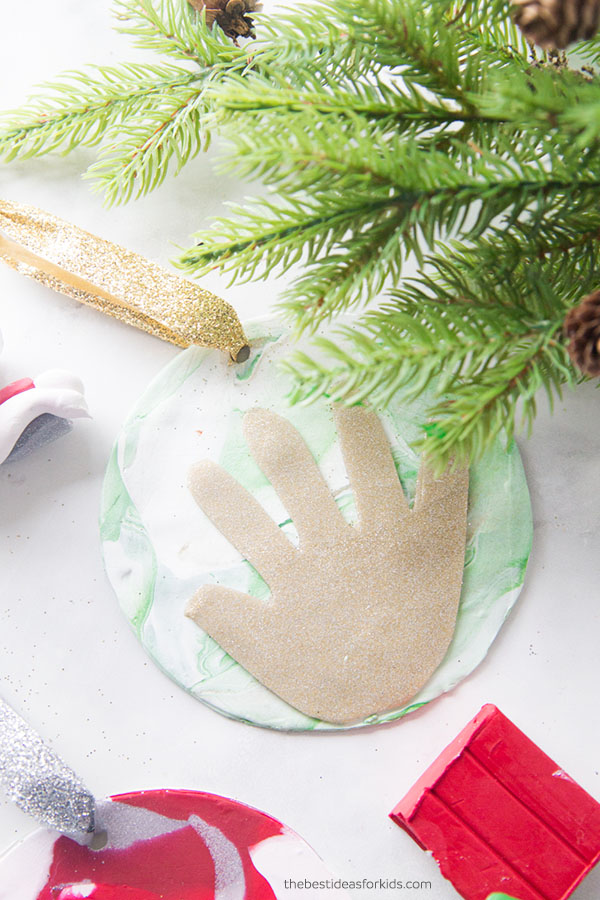
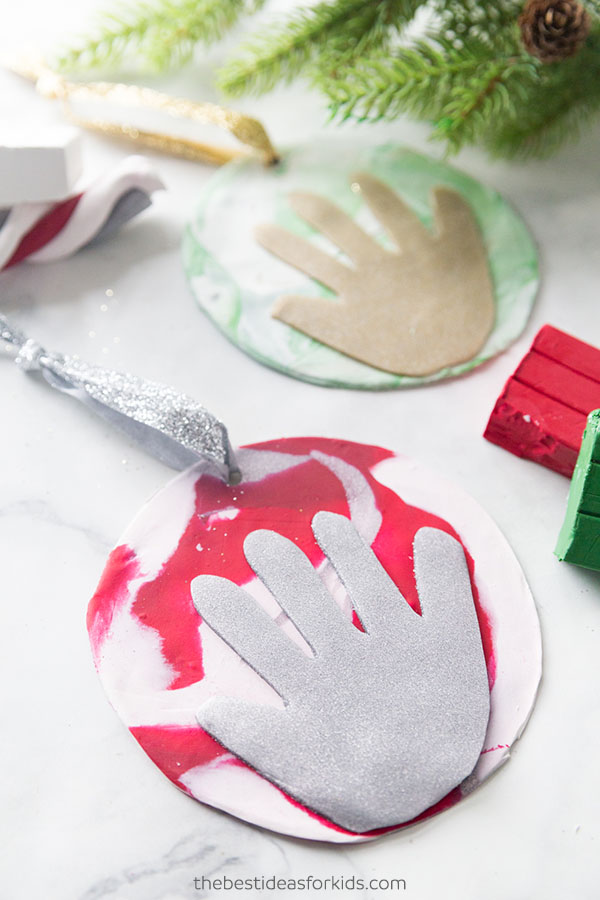
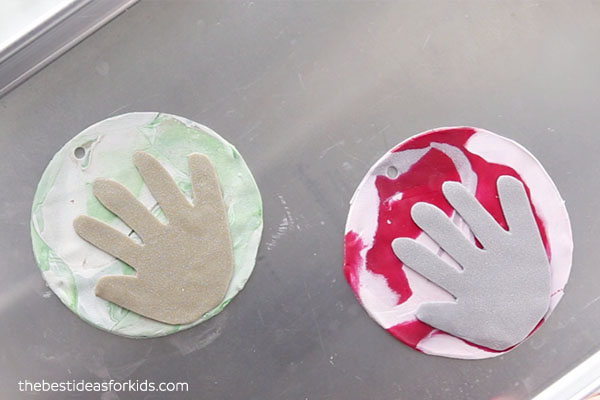
This project can be easily adapted to different colors – we did one with a marbled red, white and silver and one with a marbled green, white and gold. But you can choose whichever colors you think would look best!
Supplies to Make a Clay Handprint Ornament
Here are the supplies you’ll need to make these clay christmas ornaments:
– Polymer Clay in your chosen sizes – we used this brand.
-4 small packs of white oven bake clay (you can also buy a larger pack like this one)
-1 small pack of glitter gold oven bake clay
-1 small pack glitter silver oven bake clay
-1 small pack red oven bake clay
Directions to Make a Clay Handprint Ornament
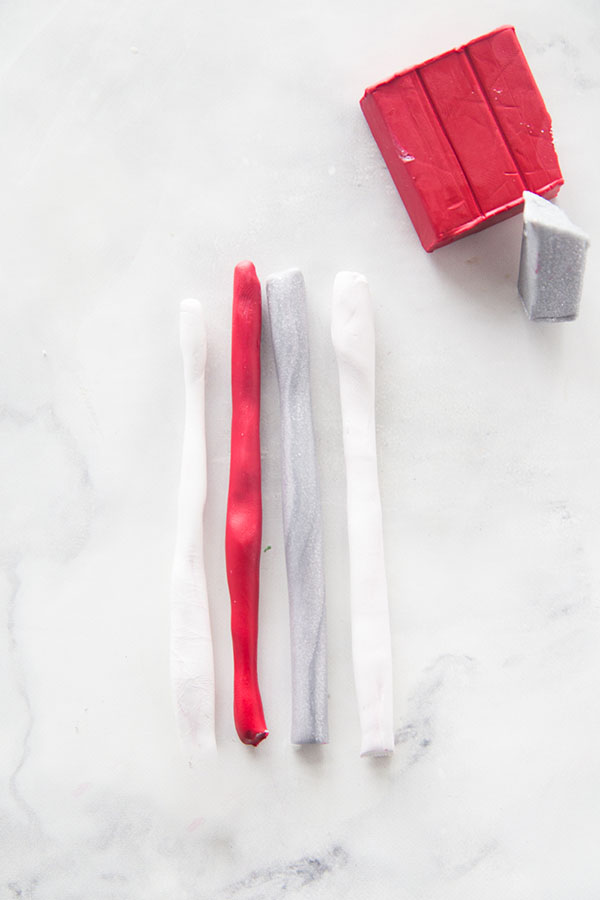
1. First cut off small blocks from your clay in your chosen color combinations. Use double the white as this helps keep the base a bit lighter for the handprint to go on top. Then roll until you get about 5 inches long.
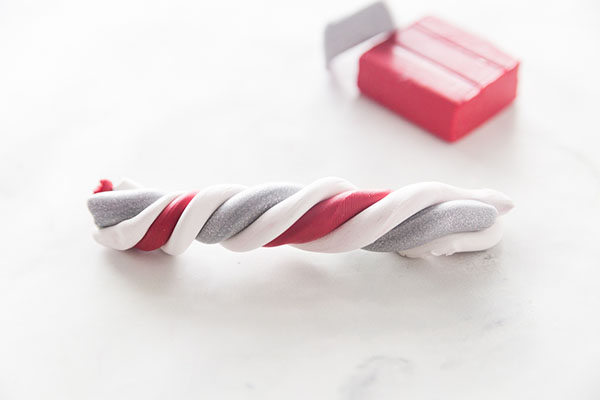
2. Lay out your colors. If you’d like to do the same colors we chose then it is gold + green + white and silver + red + white. Now twist them together. Only use a little bit of gold and silver since this will be the handprint color and you’ll want this to stand out from your base marbled colors.
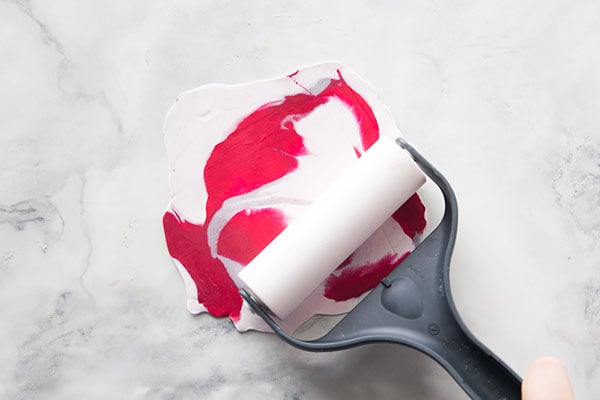
3. Keep twisting and then form a little ball. You can roll out the ball again and then smoosh together a bit more to mix the colors. Once you’re happy with the color mixing and marbled effect on one side of the ball you can then roll the clay out flat. See our video above to watch the step-by-step process!
Once you’re happy with the size that you have rolled out, use your cookie cutter or other object to cut out your shape.
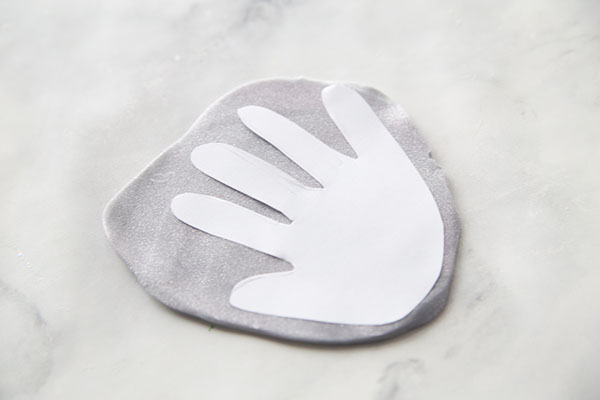
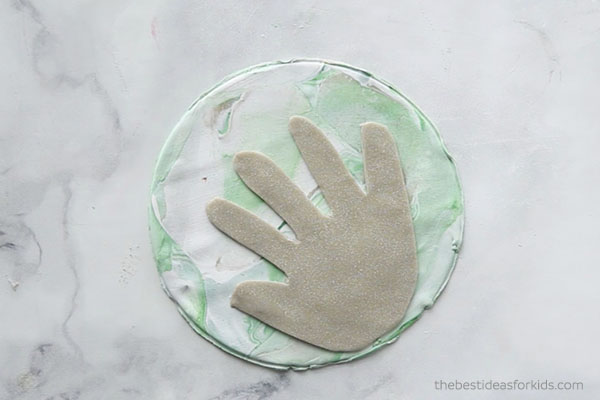
4. Trace your handprint on cardstock and cut out. Place the handprint cutout on top of your clay (gold or silver) and using a cut out your handprint shape. Note: This step must be done by adults only.
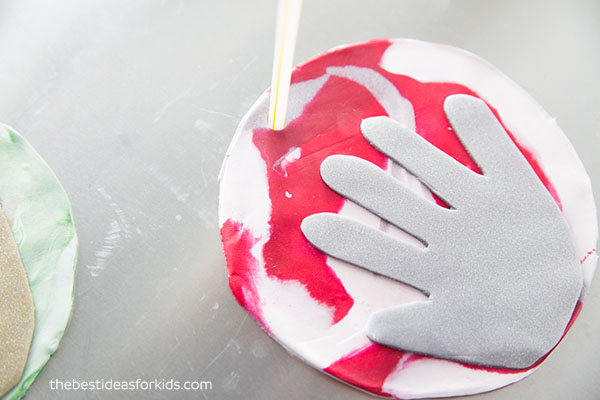
5. Smooth your handprint on top of your base shape to get the two pieces of clay to stick together. Make sure you smooth down gently and all parts of the hand so it properly adheres to your base.
Now using a straw, make a little hole at the top of your ornament for where you’d like the ribbon to hang.
6. Bake according to your clay package directions. Depending on the brand and type of polymer clay, baking directions can vary. We like this brand of polymer clay. As always, adults will need to do the baking part.
7. Once your ornaments have cooled, you can add your ribbon! We love how these turned out!
If you love this project, be sure to also see our Salt Dough Handprint Ornament. This one is fun for the kids as they can press their hands into the salt dough!
And see 25+ Salt Dough Ornament ideas here – lots of fun keepsake ideas for Christmas!





Share a Comment!
We LOVE hearing from you! Submit your question or comment here.
Your email address will not be published.
Required fields are marked *