This simple floating dry erase marker experiment is a lot of fun for kids to try! You only need a dry erase marker, a bowl, spoon and water! Kids can learn how to make their drawings float with this simple experiment!
RELATED: Dry Erase Marker Snowflakes
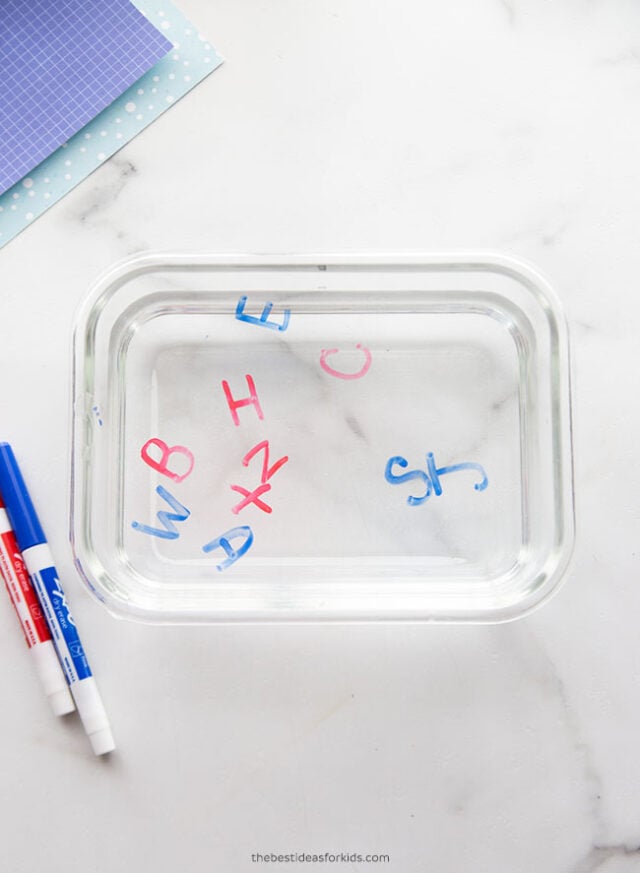
Dry Erase Marker Experiment
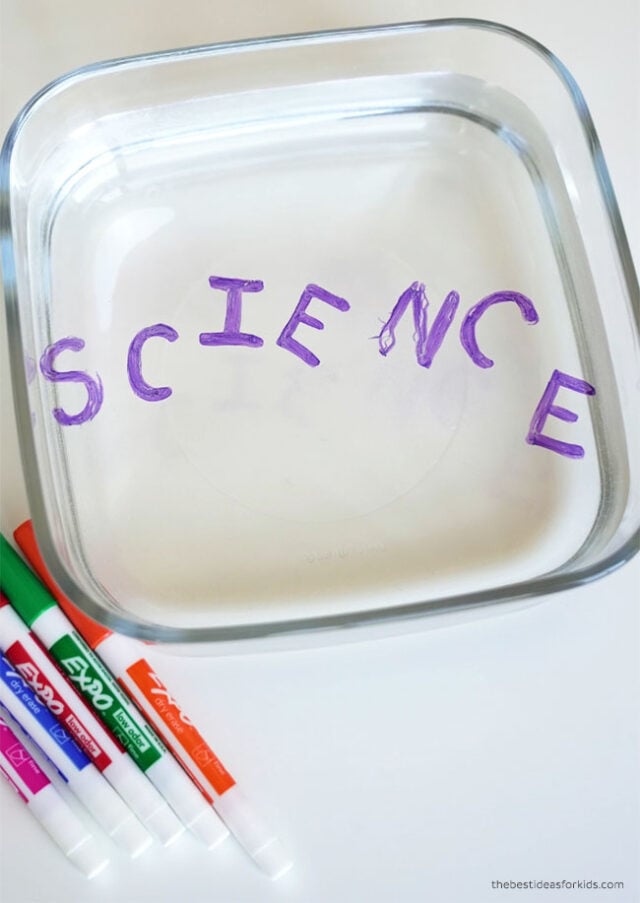
Have you ever wanted to make your name float? Learn about science and create floating words with this fun floating dry erase marker experiment!
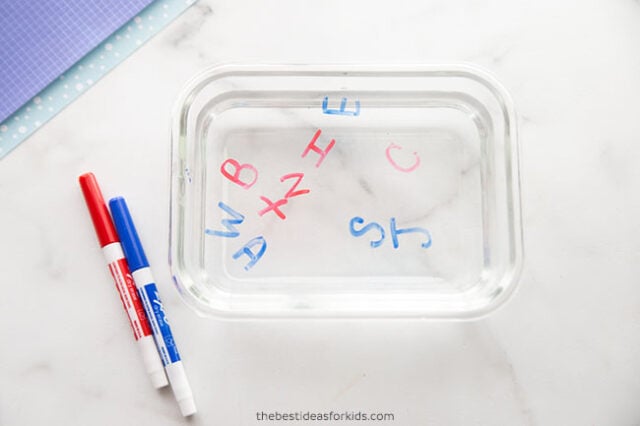
What is the Science?
Dry erase markers contain an oily silicone polymer. This makes the ink easy to wipe off nonporous surfaces such as a whiteboard, glass, metal or ceramic. This polymer makes the ink slippery and prevents it from sticking to the whiteboard.
In contrast, a permanent marker has an acrylic polymer that makes the ink stick to the surface, instead of being slippery.
How Does it Work?
You can get your drawings to float with a dry erase marker. When you make your drawing on the spoon (or a plate) the solvent that dissolves the ink ingredients will evaporate. Then, the color pigment and polymer is left on the spoon. However, since it has an oily silicone polymer this prevents it from sticking to the spoon.
When you dip the spoon into the water, the water can slip underneath the drawing since the polymer prevents it from sticking to the spoon. Finally, since the ink is lighter than the water, it floats!
Science Experiment
Make this a science experiment by testing the dry erase marker and a washable marker. Have kids make a hypothesis about which one they think will float and why.
See if you can spell different words or make your name! You can even do snowflakes or make other shapes like hearts!
Supplies Needed
Dry Erase Markers – we tested the Ikea Brand and the EXPO brand. Make sure the marker says it is NOT washable. If it is a washable marker it will not work. We used these markers. Fine tip or larger is recommended.
A round bowl or dish
Metal spoon
Water – we used regular tap water. It was cold water.
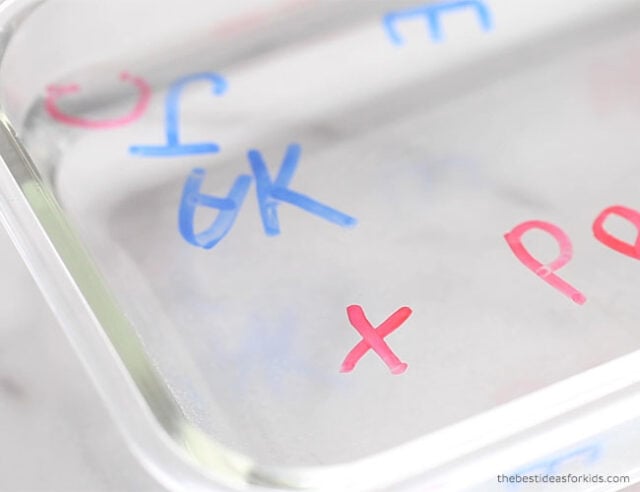
Watch the Video Tutorial Here
How to do a Floating Dry Erase Marker Experiment
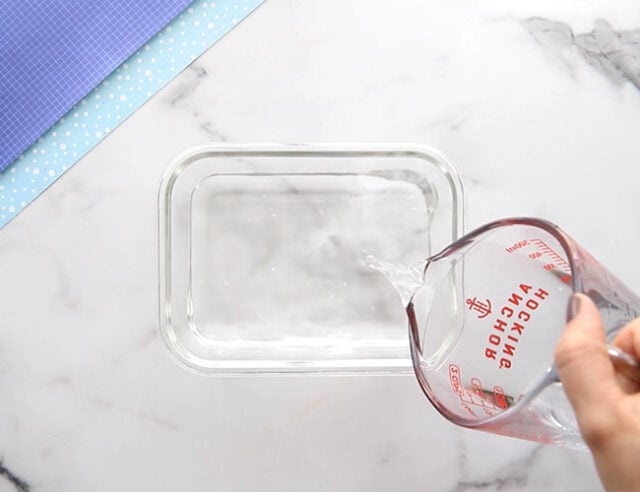
1. Fill a bowl or container with water
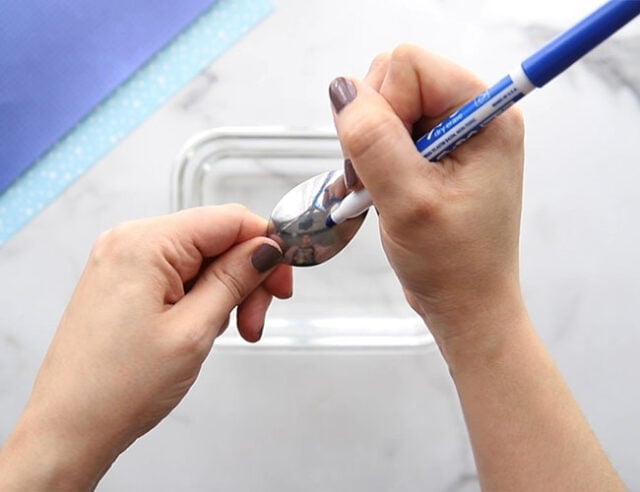
2. Start by drawing a letter or shape on the metal spoon with the dry erase marker.
Tips
- Draw thicker lines (but don’t overline it too much or it will ruin the ink already there, just draw a thicker line)
- Make sure all of the lines are connected to each other
- You want to press down so that a lot of ink comes out (if it’s too light it might not be thick enough to hold together)
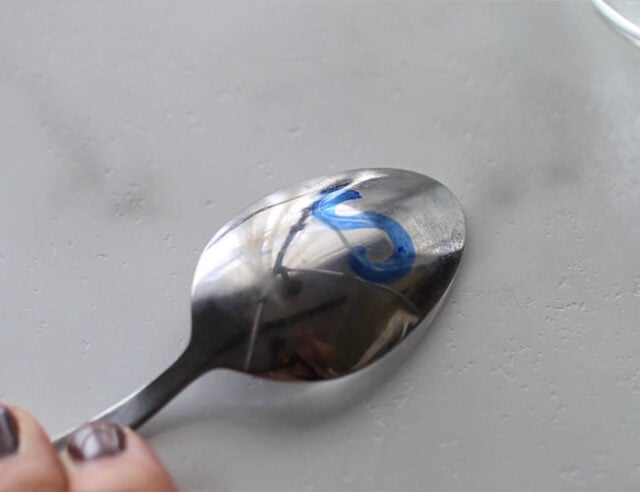
3. Slowly dip the spoon into the water.
Slowly and carefully move the spoon into the water and let it lift off. This can be tricky to do. Alternatively, you can draw on the bottom of your dish and slowly add water into the bowl or dish and see which letters release and float.
If you have any that break as you are trying to get them into the water, just scoop them out and try again.
See tips above.
Go slowly and try to shake it off gently so that it doesn’t break as you’re trying to get it into the water.
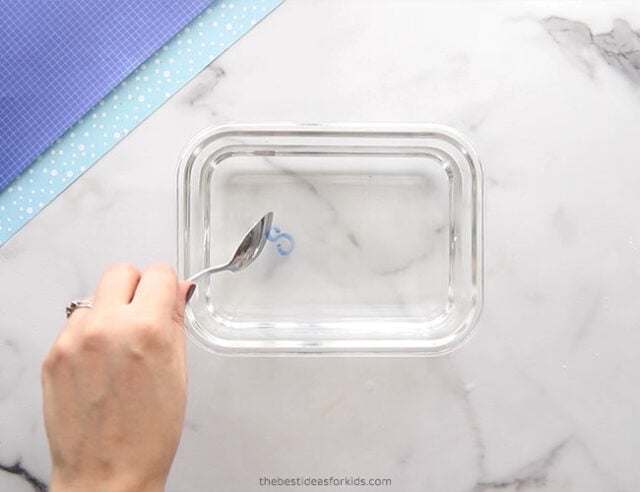
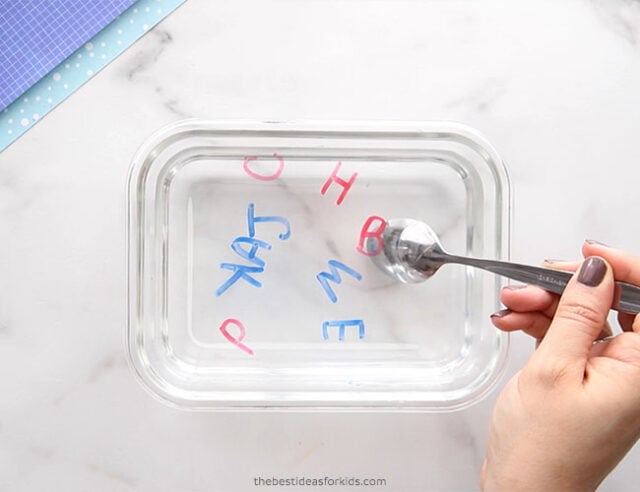
Now that you have your letters floating, use one of the markers to gently push the water around and see if you can get the letters to spell a word!
Try not to touch the letters too closely or the letter may stick to the marker.
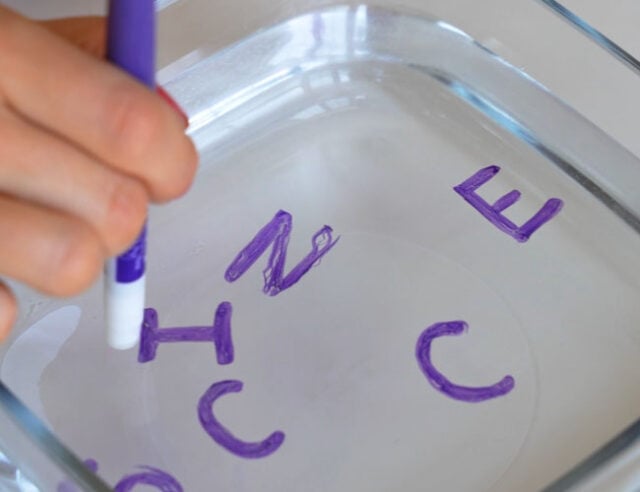
Instead of letters, what else can you draw and make float? Try different shapes, a heart or snowflakes next!




Share a Comment!
We LOVE hearing from you! Submit your question or comment here.
Your email address will not be published.
Required fields are marked *