You can make your own glow in the dark slime using glow in the dark glue. Or you can use regular glue and add glow in the dark paint to it. We prefer using the glow in the dark glue since it’s less messy and only a few ingredients!
RELATED: Fluffy Slime
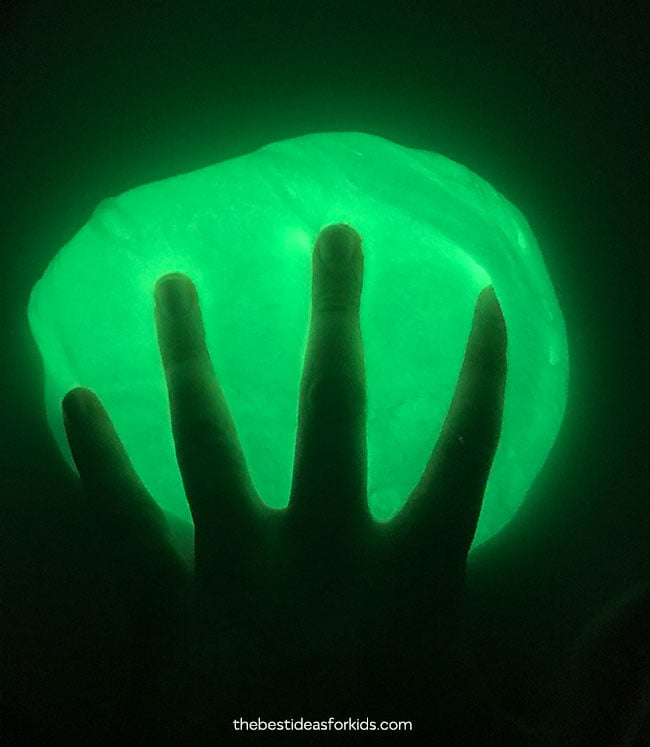
Table of Contents
- Glow in the Dark Slime Recipe
- Watch the Video Tutorial!
- The Science Behind the Slime
- The Science Behind Why Things Glow in the Dark
- Will this Slime Recipe Work?
- How Long Does the Slime Last?
- Ingredients Needed to Make Glow in the Dark Slime
- Make Glow in the Dark Slime With Glow in the Dark Paint
- How Long Will the Slime Last?
- How to Make Glow in the Dark Slime
- Slime Safety & Precautions
- More Slime Recipes
Glow in the Dark Slime Recipe
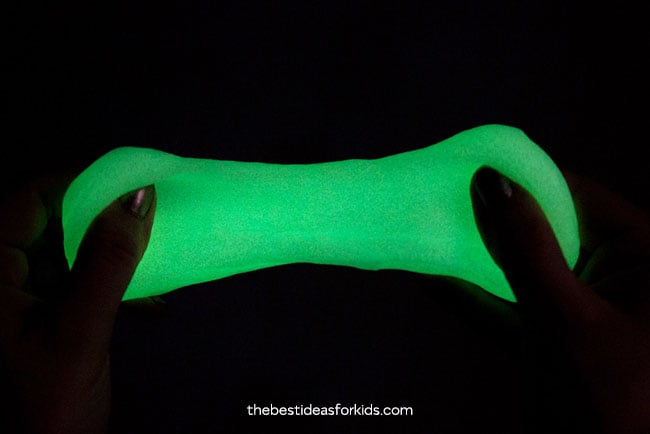
This may be the most fun we’ve had making and playing with slime! Even adults will love playing with this slime! Kids love that it glows and it makes it even more fun to stretch and squish when you’re in the dark.
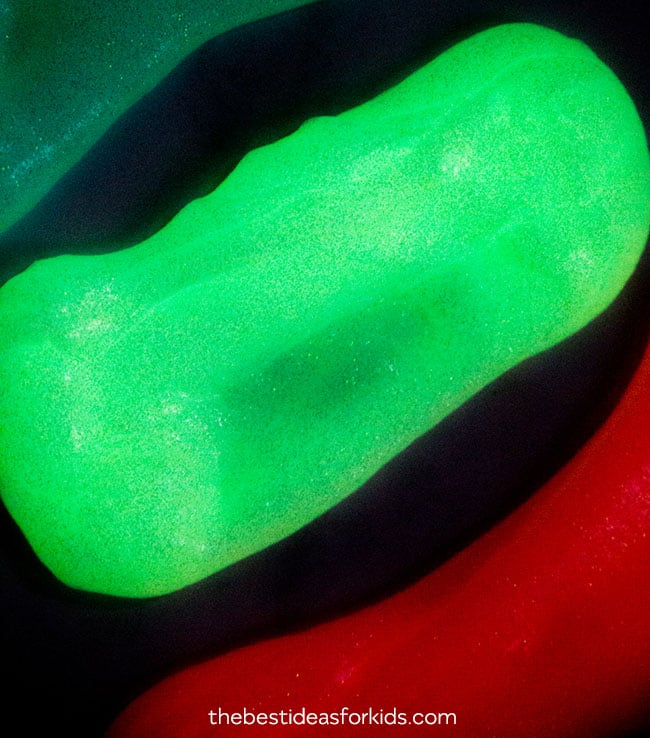
It’s easy to make it glow too – you only need to let it sit in the light for 2 minutes before it will glow. Once it loses its glowing effect just bring it back into the light again to “recharge”. We found putting it out in the sunlight actually worked the best but if you have some strong indoor lights they would work too.

In terms of the colors, you can currently get 3 different colors of glow in the dark glue. This Elmer’s glue is actually recommended for slime so it’s perfect for making slime with!
There are 3 different colors of Glow in the Dark glue:
- Blue – which doesn’t get as vibrant as the green
- Yellowish/Green – the “natural” glow in the dark color – this one is our favorite!
- Pink – also not as vibrant as the green color but more vibrant than the blue
We highly recommend getting the “Natural” color (green) which is what you would expect for glow in the dark products. This one has the most wow factor for kids.
Note: the bottles are only 5 ounces and we usually like to make our slime recipes with 6 ounces or more. If you like to have a larger amount than pictured here or in the video, we recommend doubling the recipe (using 2 bottles) for a bigger batch.
Watch the Video Tutorial!
The Science Behind the Slime
When you add the contact lens solution to the glue, it counteracts the glue and forms a viscous substance of slime which can be shaped and pulled. This slime forms due to the glue molecules cross-linking with the borate ions. This is a bond that causes the large molecules to no longer slide freely past one another (like the substance was when it was a glue). Therefore, resulting in the slime substance!
The Science Behind Why Things Glow in the Dark
For something to glow in the dark, it requires chemicals that store energy when exposed to light. These substances are called phosphors which radiate light after being “energized” or exposed to light. Once you expose them to light, they slowly release this energy in small amounts of light which causes the objects to glow in the dark.
Will this Slime Recipe Work?
If you want to make sure your slime turns out – be sure to read the instructions carefully. The type of contact lens solution you need and glue is very important! In this case, the glue you get is required for it to glow in the dark. Substituting these ingredients for other brands may result in your slime not working. If your slime does not turn into slime and stays a liquid, the issue usually is the type of contact lens solution.
Safety tip: We recommend adult supervision and that adults should make the slime. See more safety tips at the bottom of this post.
How Long Does the Slime Last?
Store in an air tight container and it should last at least 1 week. Usually much longer. We like to store in a Ziploc bag so we can press out all of the air from the bag. When not in use, we recommend placing in an air tight bag since air exposure can cause the slime to dry out.
If you’re looking for a general slime recipe, our base slime recipe can be found here: How to Make Slime With Contact Solution. We like to use contact lens solution instead of borax in our slime recipes.

Ingredients Needed to Make Glow in the Dark Slime
Note: If you want to make each color, you’ll need to get 1 bottle of each color. Otherwise we recommend doubling this recipe and making a larger batch of the green color (our favorite!).
For 1 Batch/Color:
- 1 Bottle of Glow in the Dark Glue
- 1/4 teaspoon of baking soda
- 2 tablespoons of water
- 1 tablespoon of Contact lens solution. **Important: your brand of contact lens solution must contain boric acid and sodium borate. We like this brand the best and use it in all of our slime recipes. See our full contact solution slime recipe for the brands we recommend.
Make Glow in the Dark Slime With Glow in the Dark Paint
If you can’t buy Elmer’s Glow in the Dark glue where you live there is another option. You can buy non-toxic Glow in the Dark paint. We recommend this brand of paint for use in slime.
Simply follow the below instructions to make your slime but mix in the glow in the dark paint when you add your glue. Mix enough in so that the paint mixes thoroughly with the glue. We recommend about 1 ounce of paint for 4 ounces of glue.
How Long Will the Slime Last?
This slime will last at least a week if stored in an air tight container or bag. We have found it usually will last longer. Just don’t let it sit out when not in use. We prefer to store our slime in a Ziploc bag since it is easy to press out all of the air from the bag.
How to Make Glow in the Dark Slime
1. Get a bowl to mix your slime ingredients in.
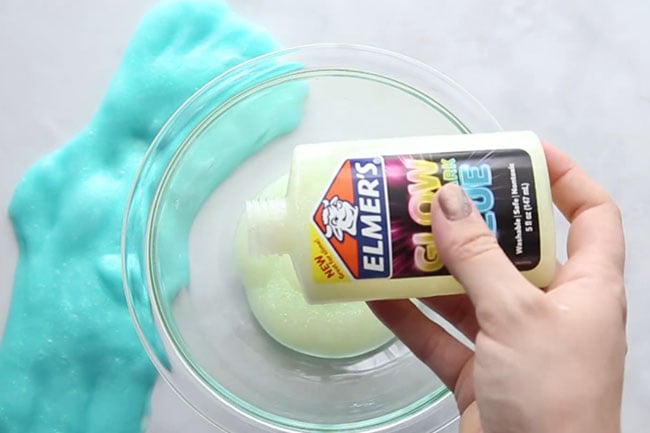
2. Empty your bottle of glow in the dark glue into the bowl.
Try to squeeze out as much as you can from the bottle and let it drip out. Since it’s only 5 ounces if you do not pour out everything you’ll be left with a small batch of slime. We recommend doubling this recipe and using 2 bottles if you want a larger batch of slime.
Tip: Pour the water that is called for in the recipe into the bottle and shake it. Then pour into your bowl to help get some of the extra glue out of the bottle.
3. Add your 1/4 teaspoon of baking soda and 2 tablespoons of water and mix thoroughly until the water is mixed in with the glue.
If you want a more stretchy slime you can add more water (up to 1/4 cup total).

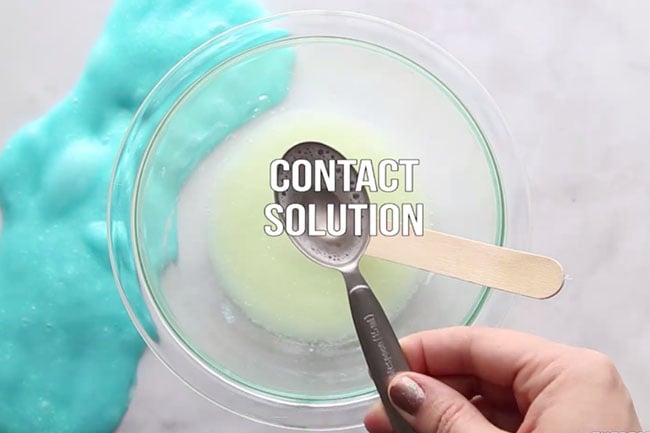
4. Slowly add in your contact lens solution.
Add in 1/2 tablespoon to start and then another 1/2 tablespoon. Add it in slowly and only as much as needed. Adding too much contact lens solution can make your slime hard and less stretchy.
Once you’ve mixed in the tablespoon take the slime out and start to knead it. It will be very sticky at this point and that is normal. Just keep kneading the glow in the dark slime until it is not sticky anymore. If you still find it very sticky, add a little bit of baby oil or lotion to your hands.
Reminder: your contact lens solution should contain boric acid and sodium borate or your slime will not form. We like this brand the best. See also our tips on How to Make Slime with Contact Solution.
5. Now you’ll need to “charge” your slime in light before it will glow in the dark.
We recommend putting it in daylight if you can as the sun will be brighter than indoor lighting. If you have a bright indoor light that will work too. Make sure to spread the slime out flat when charging as it needs to be exposed to light on all areas for it glow.

Now the fun part is testing out the slime in the dark! Kids will be amazed at how much the slime will glow.
Try these other fun slime recipes:
Slime Safety & Precautions
By making this slime, you agree to our site terms which you can read here.
- Adults should handle any chemicals and products
- Adults should make the slime
- Always read and follow the labels of products used. If contact lens solution is accidentally ingested, seek medical attention immediately.
- This project is not suitable for children under 4.
- Slime should not be placed in the mouth. After playing with the slime, you should thoroughly wash your hands.
More Slime Recipes
Have you tried fluffy slime yet? This is fun to make and the texture is actually “fluffy”!
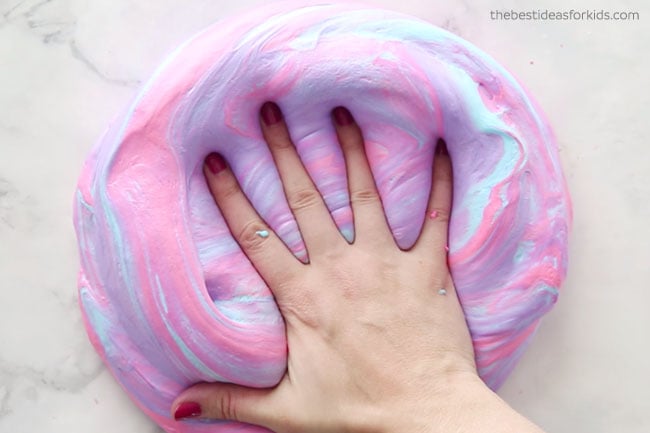
Or try making this soft butter slime!








Share a Comment!
We LOVE hearing from you! Submit your question or comment here.
Your email address will not be published.
Required fields are marked *