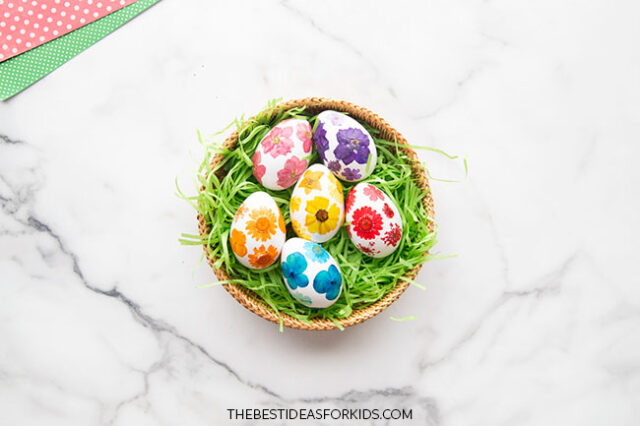
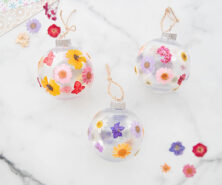
Celebrate Easter with these colorful Pressed Flower Easter Eggs! These are beautiful keepsakes you can make with the kids and the best part is that you can save them to use for decorations every year!
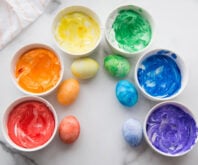
RELATED: How to Dye Easter Eggs

DIY Pressed Flower Easter Eggs
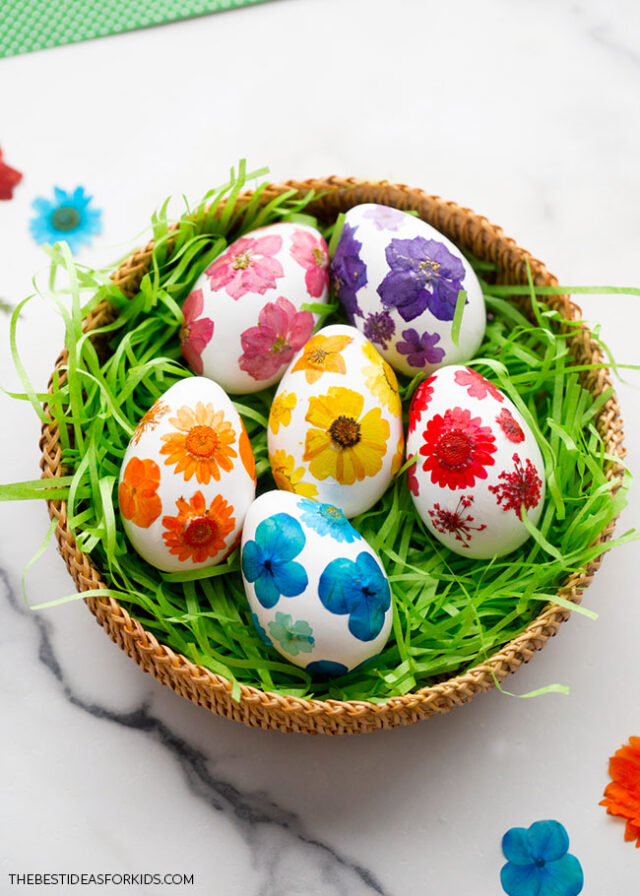
These pressed flower eggs make the prettiest Easter decorations – you can add them to a basket with some Easter grass and make a beautiful centerpiece!
Also see how to dye eggs with cool whip.

Kids will also love making these. And if you have outdoor flowers available where you are, you can even go on a scavenger hunt to find your own. See our tutorial on how to press flowers.
Supplies Needed
- Eggs – white paper eggs. You can usually find these in the Easter holiday section, or find them here.
- Pressed flowers – in a variety of colors. Press your own flowers or get them here.
- Mod Podge – any finish works, but we like matte
- Paintbrush – medium-sized, to use with the Mod Podge
- Optional: paper grass and a basket for adding the eggs to
Watch the Video Tutorial
How to Make Pressed Flower Easter Eggs
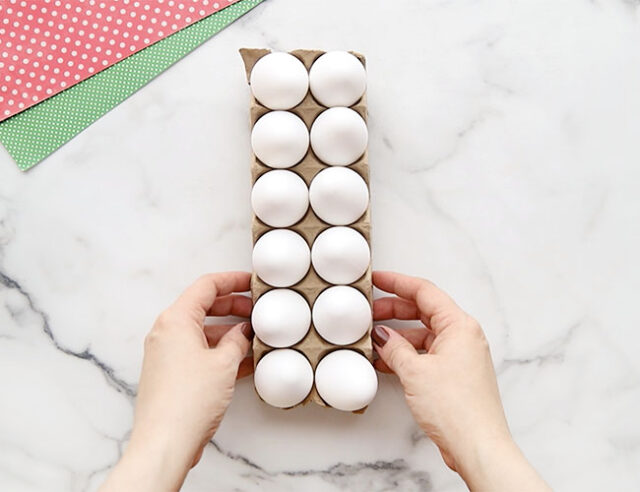
1. Get paper Easter eggs.
We recommend using paper Easter eggs for this craft.
You can also blow out real egg shells. Just make sure you thoroughly clean them before using.
2. Apply Mod Podge to the egg.
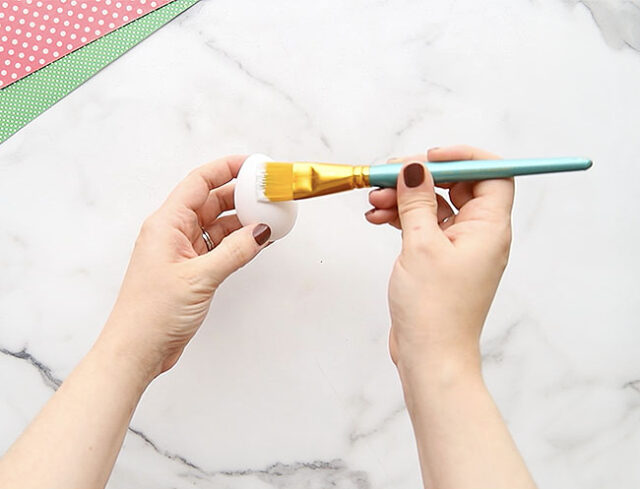
Add Mod Podge onto one section of the egg with a brush. Start with a small spot where you will place the first flower or the Mod Podge may dry before you complete the area.
3. Add a pressed flower.
Place a pressed flower on the spot you just covered with Mod Podge.
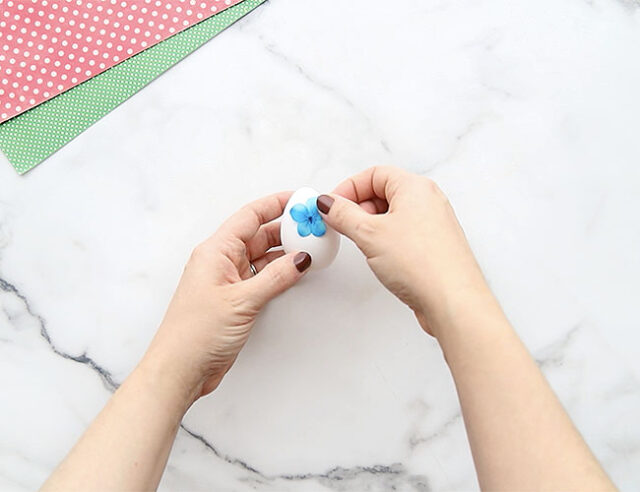
Gently press the flower into the Mod Podge so that the entire flower adheres to the egg.
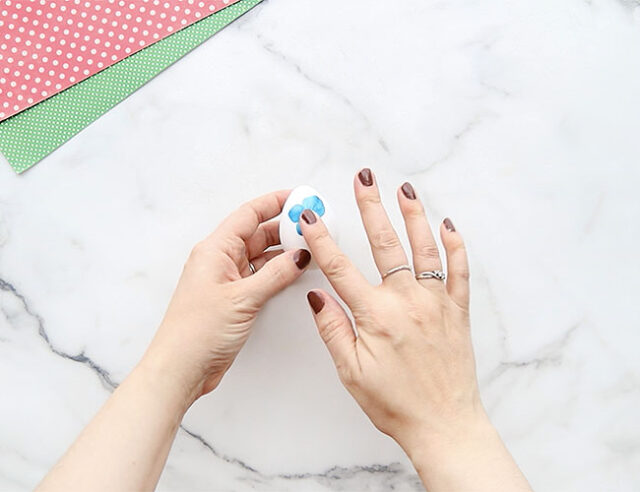
4. Seal with more Mod Podge.
Brush another coat of Mod Podge over the flower to seal it in place.
Pressed flowers are very delicate, so be sure to do this carefully so you do not rip any petals off.
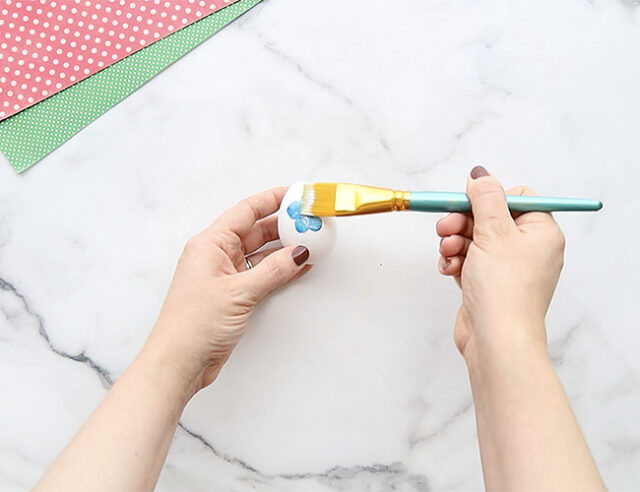
5. Repeat with more pressed flowers.
Continue adding more flowers until you are happy with how the egg looks.
We like to do 1 flower at a time so that the entire egg isn’t covered in Mod Podge at the same time, making it difficult to hold.
6. Let the eggs dry.
Place the finished egg in a dry egg carton to to finish drying. Or, cut a recycled paper towel roll down into short 1″ segments to use as temporary egg holders. Place the egg on the tube sideways (not vertically, like you would in a regular egg cup) to minimize the contact between the wet Mod Podge and the paper tube.
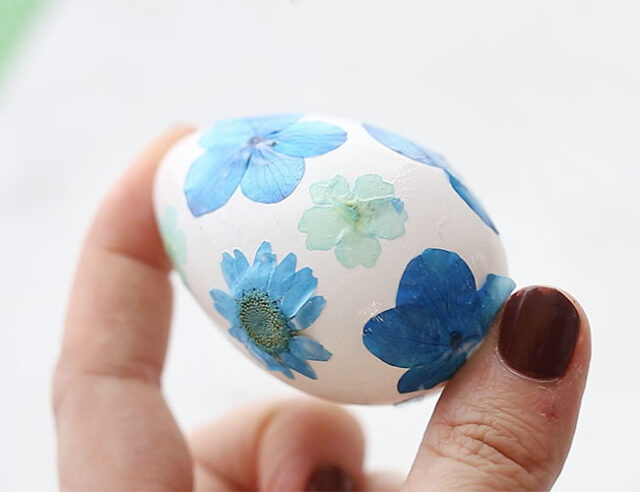
You can make as many eggs as you’d like! Kids will love decorating them with different flowers.
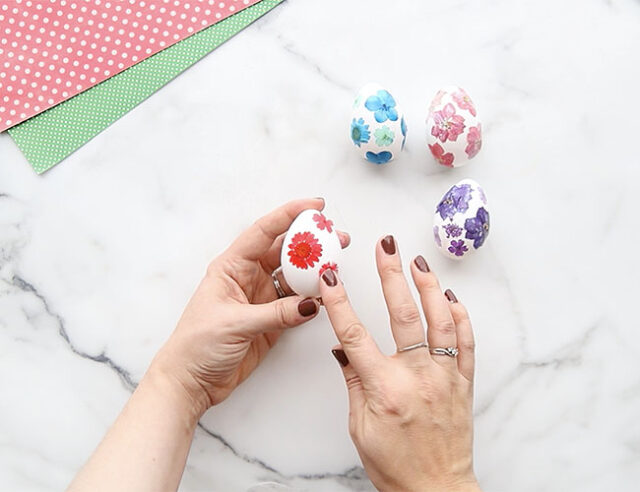
When dry, inspect the eggs to make sure you did not miss any spots. If you see any flowers that are loose or need fixing, add more Mod Podge on top.

These finished eggs look great in a basket as Easter decoration!
Or place each egg in an egg cup or paper egg holder to display them individually.





Share a Comment!
We LOVE hearing from you! Submit your question or comment here.
Your email address will not be published.
Required fields are marked *